

Easy Tips to Improve Your Night Sky Photos with a Telescope
Introduction
Astrophotography lets us see the universe in a new light. When you capture the night sky through a telescope, you reveal stunning details most people never notice. These images can turn casual stargazing into breath-taking art.
Getting professional-looking photos takes more than just pointing your camera at the sky. It needs the right techniques and gear. Luckily, today’s equipment is more affordable and user-friendly for amateur astronomers like you. With a few simple tips, you can take remarkable night sky photos that will wow friends and family alike.
Choosing the Right Equipment for Astrophotography
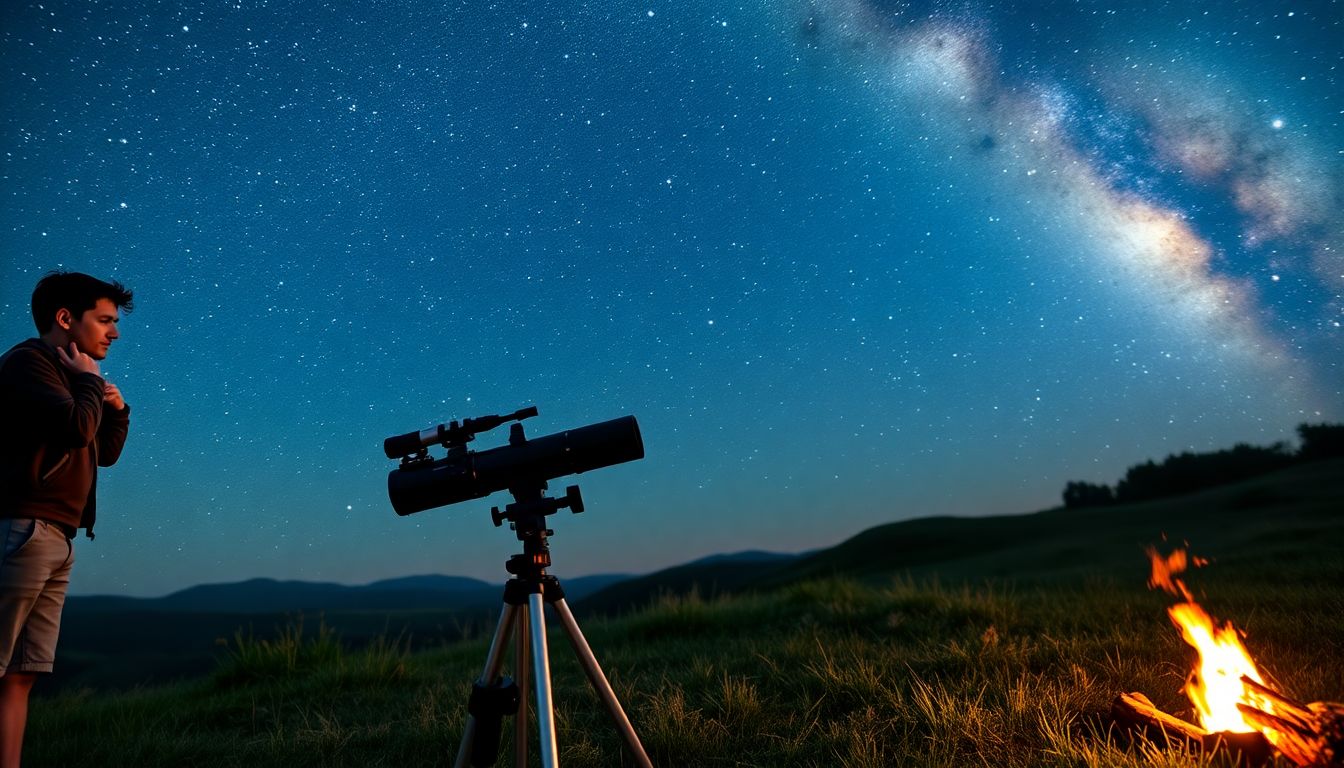
Selecting a Telescope Suitable for Night Sky Photography
Picking a good telescope is the first step. There are three main types: reflector, refractor, and compound. Reflector telescopes use mirrors, while refractors use lenses. Compound combines both techs for versatile viewing.
For astrophotography, the size of the telescope’s aperture matters a lot. The larger it is, the more light it captures. This means clearer, more detailed images of stars, planets, and nebulae.
Beginners can start with budget-friendly models like a 70mm refractor. More advanced users may prefer larger telescopes, like 8-inch reflectors, for better results.
Essential Accessories to Enhance Image Quality
Stability is key in astrophotography. A sturdy mount keeps your telescope still during long exposures. There are two options: altazimuth mounts are simple, but equatorial mounts are better for tracking stars. The latter adjusts for Earth\’s rotation, preventing blurry streaks.
You’ll also want camera adapters to attach your camera securely. Filters help block out light pollution or reduce glare from the moon. Pieces like light pollution filters or moon filters can make your images clearer and more colorful.
Camera Options and Compatibility
Choosing the right camera makes a big difference. DSLRs are affordable and easy to use, but dedicated astro-cameras are designed for low light.
For DSLRs, set the ISO to a lower level to reduce noise. Use manual mode to control exposure time. Dedicated astro-cameras often have specialized settings to maximize light capture.
Ensure your camera can connect properly to your telescope. Check that adapters fit and settings are compatible to avoid frustration during your shoot.
Optimizing Camera Settings for Night Sky Imaging
Exposure Settings for Clear, Sharp Images
Long exposures gather more light, revealing stars and details. Start with an ISO around 800 and adjust based on the scene. Shutter speed should usually be between 10 and 30 seconds. Anything longer can cause star trails unless you track movements.
Using bulb mode with a remote timer keeps the camera steady during long shots. This way, you avoid touching the camera and causing blur.
Focus Techniques for Precision
Getting sharp focus is crucial. Use live view to zoom into a bright star or planet. When the star\’s image appears as a pinpoint rather than a blur, focus is perfect.
A Bahtinov mask is a handy tool. It fits over your telescope’s lens and helps you fine-tune focus quickly. Always double-check your focus before capturing long sequences.
Managing Noise and Image Artifacts
Digital noise can ruin a good shot. To reduce it, lower your ISO and extend your exposure time instead.
Capture multiple images of the same scene and later stack them. Stacking helps enhance details while cutting down on noise. Software like DeepSkyStacker makes this process easy and fast.
Post-processing can refine your photos. Use editing tools to boost contrast, brighten stars, or remove unwanted artifacts.
Techniques for Capturing Spectacular Night Sky Photos
Framing and Composition Tips
Scout a location away from city lights for the best view. Dark skies let you see and photograph fainter objects, like the Milky Way.
Add foreground elements—rocks, trees, or buildings—to give your shot depth. Use the rule of thirds to make your composition balanced and eye-catching.
Think about where your object will be in the frame. Planning can help capture the most impressive parts of the night sky.
Exposure and Timing Strategies
The dark of the new moon is perfect. Clouds, humidity, and city glow hide the stars, so check weather forecasts beforehand.
Experiment with time-lapse shots or multiple exposures. These techniques allow you to catch movements like star trails or track satellites and meteors.
Focus on capturing specific objects like the glowing band of the Milky Way, bright planets, or glowing nebulae for remarkable images.
Post-Processing for Enhanced Results
Software like Adobe Photoshop or DeepSkyStacker can turn average photos into extraordinary ones.
Stacking multiple images boosts detail and reduces noise. Adjust contrast to bring out faint features. Fine-tune color balance to make nebulae and star colors pop.
Sharpening details and reducing glare completes the process, making your celestial images look professional.
Common Challenges and Solutions in Night Sky Photography
Dealing with Light Pollution
City lights can drown out the stars. Using light pollution filters helps block unwanted brightness.
Choose remote, dark spots for better visibility. Some apps can show areas with minimal light pollution.
Tracking Errors and Image Distortion
Even small mount misalignments cause star trails. Regular calibration and alignment are essential.
Guiding scopes help with real-time corrections, especially during long exposures. These devices keep your telescope perfectly tracking the sky’s movement.
Weather and Atmospheric Conditions
Clouds and turbulence can ruin a shoot. Check weather reports and plan for clear nights.
Atmospheric distortion makes stars appear shimmered or blurred. Post-processing can reduce these effects, but patience and planning remain your best tools.
Conclusion
Improving your night sky photos with a telescope isn’t hard, but it takes practice. Good equipment, proper camera settings, and careful planning will make a big difference. Post-processing adds that extra magic.
Keep experimenting, and don’t give up if a shot doesn’t turn out perfect. Every star, planet, or nebula caught on camera brings you closer to mastering astrophotography.
Now, set your sights on the stars, and start capturing those stunning celestial sights today. Get your camera ready, find a dark spot, and watch your night sky images come to life.