

How to Use Space Map 3D for Beginners: A Complete Guide to Exploring 3D Space Maps
Introduction
Imagine being able to see the universe right in front of you, from stars to galaxies, all in a single, interactive 3D map. Space Map 3D makes this possible for everyone — from students to astronomy lovers. This tool is gaining popularity because it turns complex space data into something simple and fun. Even if you’re new to astronomy, you can start exploring with just a few clicks. Using Space Map 3D can boost your understanding of space and bring the cosmos closer to you.
What is Space Map 3D? An Overview
Understanding Space Map 3D’s Core Features
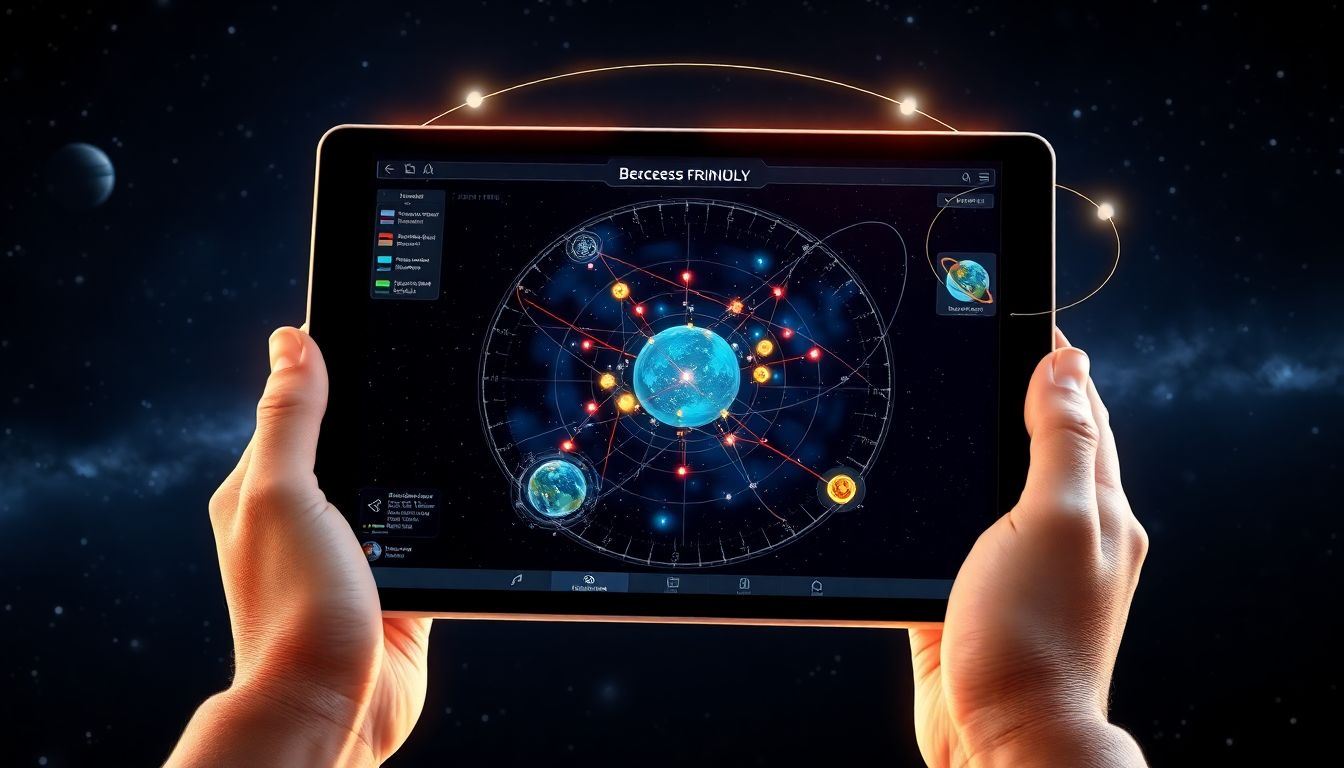
Space Map 3D is software that visualizes stars, planets, constellations, and galaxies in an interactive 3D space. Its clean interface makes navigation easy for beginners. The software offers different views, showing both nearby objects and far-away galaxies. You can also explore by searching for specific celestial objects or zooming into different regions of the universe.
Benefits of Using Space Map 3D for Beginners
One major perk of Space Map 3D is that it makes learning astronomy straightforward. Seeing objects in 3D helps you understand their size, distance, and position better than flat images. It’s also a perfect educational tool for classrooms and personal curiosity. Exploring space becomes more engaging when you can move around and discover objects yourself.
Getting Started with Space Map 3D
Downloading and Installing the Software
First, visit the official website to download Space Map 3D. It’s free and simple to install. Make sure your device meets the basic system requirements—Windows or Mac, with enough space and a decent graphics card. Follow the step-by-step prompts, and within minutes, you’ll be ready to start exploring.
Navigating the Interface
Once opened, you’ll see a menu bar, toolbar, and the main 3D space. The toolbar has buttons for zooming, rotating, and switching views. The menus let you access settings and different data layers. Customizing your workspace, like moving toolbars or changing colors, can make your journey smoother and more personal.
Setting Up Your First View
Kick things off by initializing a view of the night sky. Set the date and time to match real conditions, or pick a date for future or past views. Select your location to see what stars and planets are visible from your area. This setup helps you connect the map with your actual environment.
Essential Features and Tools for Beginners
Exploring Celestial Objects
Start by locating stars, planets, and deep-sky objects like nebulae. Use the search feature to find something specific — just type the name or catalog number. Filters allow you to narrow your view based on type, brightness, or distance. It’s like using Google Maps, but for space!
Using the 3D Navigation Controls
Move easily through space with controls for panning, zooming, and rotating. Drag the view to look around, zoom in for details, or spin to see the universe from different angles. Practice these controls for smooth movement — it’s as simple as playing a video game.
Leveraging the Data Layers
Toggle layers on and off easily. Want to focus only on nearby stars? Disable galaxies and distant objects. You can even add your own data, like tracking your favorite objects or creating custom markers. Layers help you personalize your exploration experience.
Practical Tips and Techniques for Effective Use
Customizing Views and Settings
Save your favorite views so you can revisit them anytime. Adjust display options such as labels, icons, or color schemes to enhance readability. This way, you can tailor the map to suit your learning style or presentation needs.
Conducting Virtual Space Tours
Create guided tours by setting a series of points in space. Use this feature to make presentations or explore planets, stars, and galaxies step-by-step. It’s a great way to tell a space story or learn more by walking through the cosmos visually.
Understanding Astronomical Data and Coordinates
Learn to read data like right ascension, declination, and distance. These are basic ways astronomers pinpoint objects in space. The map’s grids and measurement tools allow you to see how far objects are or how they relate to each other in space.
Real-World Applications and Case Studies
Educational Use in Schools and Universities
Teachers use Space Map 3D for hands-on astronomy lessons. Students get to see real-time positions of planets and stars, making lessons more memorable. Some schools even use it as a virtual field trip for students who can’t go outside at night.
Amateur Astronomy and Stargazing
Stargazers plan their viewing nights with Space Map 3D. Before heading out, they check where planets, constellations, and bright stars will be visible. Combining this tool with telescope observations helps spot objects more easily in the night sky.
Research and Data Analysis
Scientists often start with quick visualizations in Space Map 3D before doing detailed research. They link the software’s images with other data sources to analyze the universe. It’s a handy way to get a broad view of space before diving into deeper studies.
Conclusion
Getting started with Space Map 3D is simple and exciting. Begin by downloading, exploring the interface, and customizing your views. Practice navigating space and using different layers to focus on your interests. Over time, your understanding of the cosmos will grow, and exploring space becomes second nature. Keep experimenting, and don’t forget to check tutorials and guides to unlock new features. Space Map 3D makes the universe accessible for everyone—one star at a time.
Additional Resources
- Official Space Map 3D Tutorial
- User Guide for Beginners
- Astronomy forums and communities for extra tips and shared experiences
- Articles on using visualization tools to make astronomy fun and understandable