


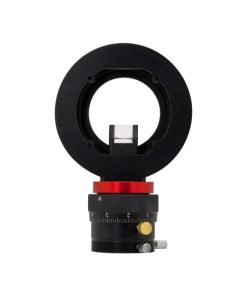


A Large OAG Specifically for Your ASI461MM Pro Camera!
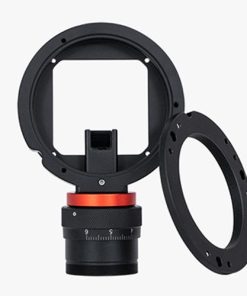
ZWO has designed this large off-axis guider to work specifically with the ASI461MM Pro camera and the ZWO 50 mm Square filter wheel. This OAG is simple to use and is perfect for those looking to do long focal length astrophotography. Much like the standard ZWO Large OAG, the OAG-L-68 has a prism size of 12x12mm. The body of the ZWO OAG is made of high-quality materials, allowing it to be lightweight yet sturdy. It comes with a 17.5 mm thickness.
The effective light aperture of this ZWO ASI461 OAG is 11.7mm x 8.3mm. The larger clear aperture provides a wider field of view while guiding. This OAG can be used to connect the main camera and guide camera simultaneously. There is no guide telescope required.
A Lightweight and Easy-to-Use Tool to Help You Reach Your Imaging Goals!
We want you to get the most out of your purchase. Read on below to learn how to get started with your ZWO OAG-L for ASI461MM Pro Cameras.

Operation Guide
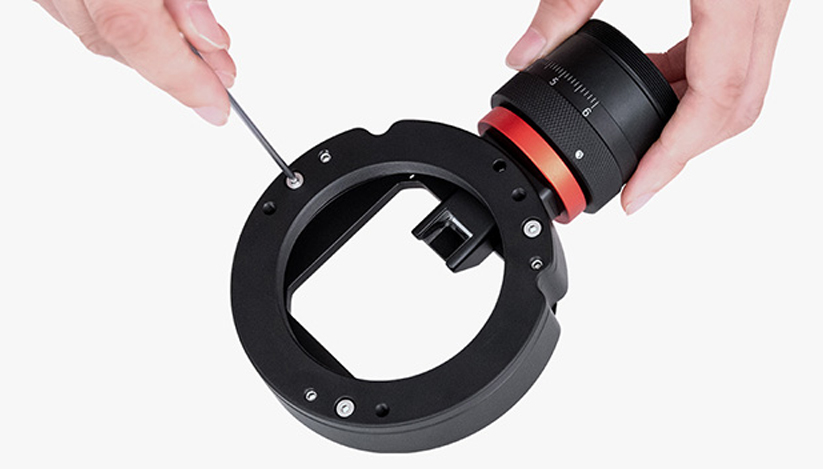
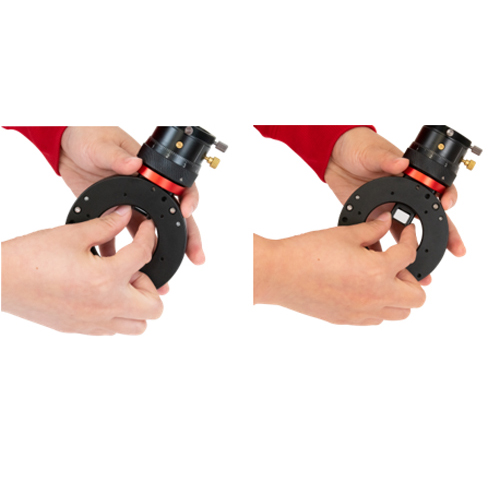
When compared to the original OAG-L, this OAG has a larger prism size and there are no threads, allowing you to use the screws to connect it to other equipment. If the thread on the telescope side is M48, then you do not need to remove the included M48 sensor tilt plate. If the telescope thread is not M48, then you will need to remove the supplied tilt plate and attach a user-supplied tilt plate that comes with a corresponding thread. When you add the OAG-L to your optical train, please make sure that the prism does not block the ASI461MM Pro camera sensor. Using the guiding screw to adjust the guiding camera’s focal length, make sure the distances from the prism to the main camera and to the guide camera are the same. It is most often better to do this during the day or in good light, as it can be difficult in dark conditions.
Adjusting the Prism
If you need to adjust the position of the OAG-L-68 prism, you can use an M2 hex wrench to loosen the M4 screw, moving counterclockwise. This M4 screw can be found in the hole on the sensor tilt plate. Next, pinch the prism on both sides and pull it into the proper position. Finally, retighten the M4 screw with the M2 hex wrench, and you are good to go.
Only logged in customers who have purchased this product may leave a review.
Related products


what our customer say this product:
There are no reviews yet